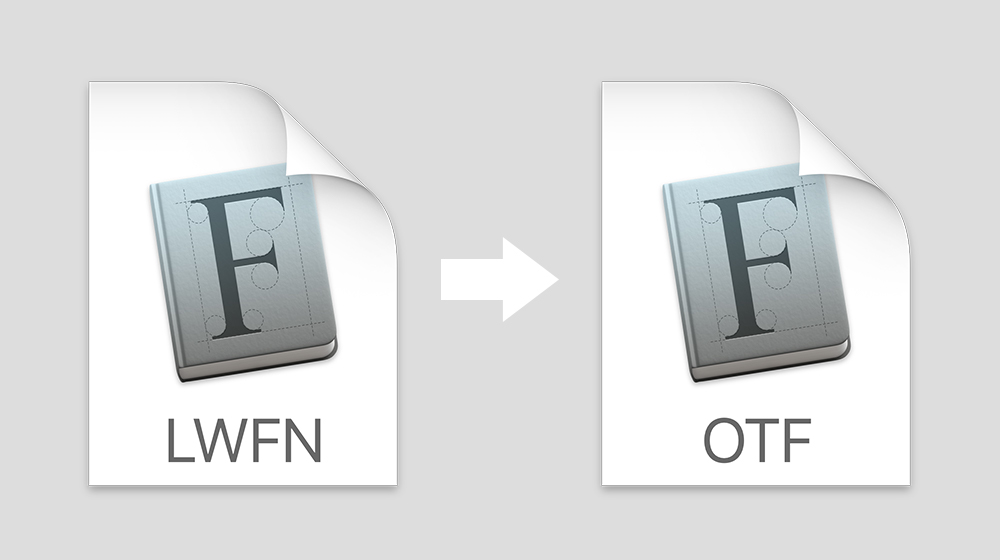
At my workplace we ran into some problems where a couple fonts were not syncing properly via Dropbox. After a little digging, I found the problem: The fonts were old Mac “suitcase” fonts in PostScript Type 1 format. The suitcase font format stores some of its font data as a file system resource, instead as a regular file, and apparently Dropbox has a problem with that. The person receiving the font files would see that some were 0 KB and were unusable. If we zipped these fonts, and synced them across Dropbox that way, they could be used.
We had a workaround, but since we often use inDesign’s package function to collect and share fonts via Dropbox, it would be a hassle going forward. I decided it might be worthwhile to try converting the fonts to a more modern format, like OpenType.
What Didn’t Work
I found a number of solutions for converting font suitcase files online, but nearly all of them were oriented towards TrueType-based suitcase files. These did not work for Type 1-based suitcase fonts. Examples:
- The answer from user NSGod at https://apple.stackexchange.com/questions/8455/how-do-i-convert-a-suitcase-font/8498#8498
- The tutorial at http://macthoughts.net/20131112-373
Eventually I cobbled together a solution by following leads from several websites, and successfully converted some Type 1 suitcase fonts to OpenType. I posted my solution online, which was thus:
- In a Terminal window, open the folder that contains the fonts to convert.
- Repeat the following command for each PostScript Type 1 font file, skipping the font suitcase file, replacing XXXXXXXXXX (twice in the command) with the name of the respective file.
cat "XXXXXXXXXX/..namedfork/rsrc" > ~/"Downloads/XXXXXXXXXX.dfont"
For example:
cat "BerkeBla/..namedfork/rsrc" > ~/"Downloads/BerkeBla.dfont"
This will save out a .dfont copy of your font to your ~/Downloads folder.
- Next, use the application DfontSplitter to convert the .dfont files to .pfb files. Download the app from http://peter.upfold.org.uk/projects/dfontsplitter … then open it, select all .dfont files by dragging them into the window, choose a destination folder, and click the Convert button.
- Next, go to http://www.freefontconverter.com/ and upload your .pfb files, one at a time, and specify that you want to convert to OTF OpenType format. This will download an OpenType version of your font.
However, upon further testing, I found that the font metrics data (kerning pairs data) was stripped, which was a major crippling of the fonts. It could be that step 2 was not saving the kerning data into the .dfont files, or DfontSplitter was not converting it (it should output a .pfm metrics file with each .pfb binary file), and in any case the Free Font Converter website was only doing a .pfm to .otf conversion, which is necessarily missing the metrics data.
I also tried the commercial app TransType 4, trial version, but it had the same output problem: no kerning pairs. I suspect it is built on the Fondu type conversion engine, the same as DfontSplitter.
What Worked
I wasn’t ready to give up, so within a couple days I tried another method. This time it worked, mostly.*
- Download and install FontForge as per http://fontforge.github.io/en-
US/downloads/mac/. - With each suitcase file, you will find one or more font data files that are part of the suitcase set — usually with a similar name; these are the files you need to open. For example, the suitcase might be named “Gadzooks Family” and Finder will show its type as “font suitcase”; and with it you might see files called GadzooIta and GadzooMed (the italic and medium styles) which have the Finder type of “PostScript® Type 1 outline font”. There is no standard naming convention, unfortunately, but it should be pretty obvious. Open one of the PostScript outline font files. FontForge will probably not show the file, since typically they do not have a file extension. Set the file filter in the Open dialog to show all files. This should allow you to open the font. If it worked, you should see a grid of all the font characters.
- Import the kerning data. Go to File > Merge Feature Info… in the menu, and choose the file that is the font suitcase. You should then by automatically prompted with a list of data sources within the suitcase, and you need to choose the corresponding font data from the list. Unfortunately this is more art than science, but the font data should have a name similar to the name of the font style you are editing.
- To verify that the kerning data was imported, choose Metrics > New Metrics Window from the menu, and then in the bar at the top type a couple characters what should have a kerning setting (such as “AV” or “WA” — these are likely suspects, but every font is different), and you should see a value in the Kern box below (for example, maybe “–20”).
- Save if you want, using FontForge native .sfd format.
- Choose the File > Generate Fonts… menu command to export the font in the format desired. I got a bunch of warnings when I did this, but it still worked.
This solution has been posted online at http://apple.stackexchange.com/questions/8455/how-do-i-convert-a-suitcase-font/200074#200074.
*When using this method, I found that a few kerning pairs were lost. I don’t know why, but it was usually the same several kerning pairs in each font that went missing. Out of 30-100 kerning pairs per font, maybe 3-5 would be missing. But these can be restored manually. Using the commercial font management app FontExplorerX Pro, for example, you can see all the kerning pairs in a font and their values. You can then manually enter any missing values in FontForge’s metrics window and then re-export the font.

Thank you so much! You are a legend!