Caffeine app in macOS Mojave

The popular menu bar app Caffeine, which keeps your Mac from entering sleep, does not work by default under macOS Mojave (10.14). The original developer has not released a fix.

If you’ve had the situation where you were not actively using your computer, but did not want it to sleep, you may have been frustrated. You can of course disable the sleep options temporarily. But that is annoying, and maybe you will forget to enable them when your current task is done. That is why many people used the app Caffeine. It would make your Mac stay awake indefinitely, and it was easy to use. You simply clicked an icon in the task bar to enable or disable it. But with Mojave, Caffeine stopped working.

There are a few ways to fix it or replace it:

  • There is an updated version 1.1.2 from another source who has taken over the app’s development, which reportedly works.
  • You can manually make some changes to macOS’s Privacy settings to get the original app to work.
  • Another free app that does the same thing is KeepingYouAwake. Although the options for this app are pretty minimal, it is an open source GitHub project, which may appeal to some people.
  • Another free app with very robust features and great ratings in the Mac App Store is Amphetamine. It is by far the most advanced app in its category that I have seen. It offers a wide variety of triggers and time options for keeping your Mac awake. This is the solution that I am currently using.

Useful Terminal Hacks for OS X

Current as of Yosemite. (Based on user comments on GitHub, probably works fine for El Capitan too.) Use at your own risk.

Expanding the save panel by default

defaults write NSGlobalDomain NSNavPanelExpandedStateForSaveMode -bool true

Save to disk, rather than iCloud, by default?

defaults write NSGlobalDomain NSDocumentSaveNewDocumentsToCloud -bool false

Disabling press-and-hold for special keys in favor of key repeat

defaults write NSGlobalDomain ApplePressAndHoldEnabled -bool false

Disable the warning when changing a file extension

defaults write com.apple.finder FXEnableExtensionChangeWarning -bool false

Allowing text selection in Quick Look/Preview in Finder by default

defaults write com.apple.finder QLEnableTextSelection -bool true

Converting Mac PostScript Type 1 Suitcase Fonts

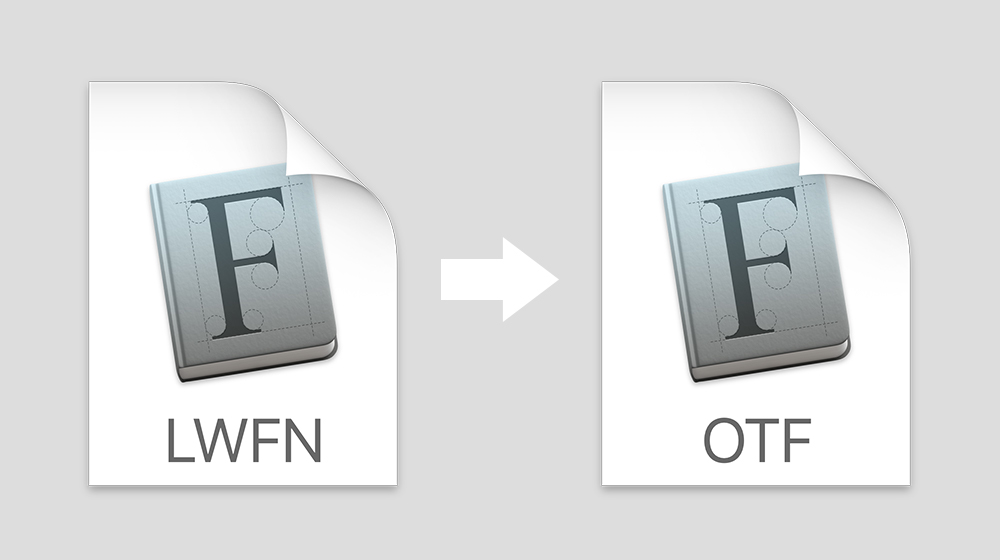
At my workplace we ran into some problems where a couple fonts were not syncing properly via Dropbox. After a little digging, I found the problem: The fonts were old Mac “suitcase” fonts in PostScript Type 1 format. The suitcase font format stores some of its font data as a file system resource, instead as a regular file, and apparently Dropbox has a problem with that. The person receiving the font files would see that some were 0 KB and were unusable. If we zipped these fonts, and synced them across Dropbox that way, they could be used.

We had a workaround, but since we often use inDesign’s package function to collect and share fonts via Dropbox, it would be a hassle going forward. I decided it might be worthwhile to try converting the fonts to a more modern format, like OpenType.

What Didn’t Work

I found a number of solutions for converting font suitcase files online, but nearly all of them were oriented towards TrueType-based suitcase files. These did not work for Type 1-based suitcase fonts. Examples:

Eventually I cobbled together a solution by following leads from several websites, and successfully converted some Type 1 suitcase fonts to OpenType. I posted my solution online, which was thus:

  1. In a Terminal window, open the folder that contains the fonts to convert.
  2. Repeat the following command for each PostScript Type 1 font file, skipping the font suitcase file, replacing XXXXXXXXXX (twice in the command) with the name of the respective file.
    cat "XXXXXXXXXX/..namedfork/rsrc" > ~/"Downloads/XXXXXXXXXX.dfont"

    For example:

    cat "BerkeBla/..namedfork/rsrc" > ~/"Downloads/BerkeBla.dfont"

    This will save out a .dfont copy of your font to your ~/Downloads folder.

  3. Next, use the application DfontSplitter to convert the .dfont files to .pfb files. Download the app from http://peter.upfold.org.uk/projects/dfontsplitter … then open it, select all .dfont files by dragging them into the window, choose a destination folder, and click the Convert button.
  4. Next, go to http://www.freefontconverter.com/ and upload your .pfb files, one at a time, and specify that you want to convert to OTF OpenType format. This will download an OpenType version of your font.

However, upon further testing, I found that the font metrics data (kerning pairs data) was stripped, which was a major crippling of the fonts. It could be that step 2 was not saving the kerning data into the .dfont files, or DfontSplitter was not converting it (it should output a .pfm metrics file with each .pfb binary file), and in any case the Free Font Converter website was only doing a .pfm to .otf conversion, which is necessarily missing the metrics data.

I also tried the commercial app TransType 4, trial version, but it had the same output problem: no kerning pairs. I suspect it is built on the Fondu type conversion engine, the same as DfontSplitter.

What Worked

I wasn’t ready to give up, so within a couple days I tried another method. This time it worked, mostly.*

  1. Download and install FontForge as per http://fontforge.github.io/en-US/downloads/mac/.
  2. With each suitcase file, you will find one or more font data files that are part of the suitcase set — usually with a similar name; these are the files you need to open. For example, the suitcase might be named “Gadzooks Family” and Finder will show its type as “font suitcase”; and with it you might see files called GadzooIta and GadzooMed (the italic and medium styles) which have the Finder type of “PostScript® Type 1 outline font”. There is no standard naming convention, unfortunately, but it should be pretty obvious. Open one of the PostScript outline font files. FontForge will probably not show the file, since typically they do not have a file extension. Set the file filter in the Open dialog to show all files. This should allow you to open the font. If it worked, you should see a grid of all the font characters.
  3. Import the kerning data. Go to File > Merge Feature Info… in the menu, and choose the file that is the font suitcase. You should then by automatically prompted with a list of data sources within the suitcase, and you need to choose the corresponding font data from the list. Unfortunately this is more art than science, but the font data should have a name similar to the name of the font style you are editing.
  4. To verify that the kerning data was imported, choose Metrics > New Metrics Window from the menu, and then in the bar at the top type a couple characters what should have a kerning setting (such as “AV” or “WA” — these are likely suspects, but every font is different), and you should see a value in the Kern box below (for example, maybe “–20”).
  5. Save if you want, using FontForge native .sfd format.
  6. Choose the File > Generate Fonts… menu command to export the font in the format desired. I got a bunch of warnings when I did this, but it still worked.

This solution has been posted online at http://apple.stackexchange.com/questions/8455/how-do-i-convert-a-suitcase-font/200074#200074.

*When using this method, I found that a few kerning pairs were lost. I don’t know why, but it was usually the same several kerning pairs in each font that went missing. Out of 30-100 kerning pairs per font, maybe 3-5 would be missing. But these can be restored manually. Using the commercial font management app FontExplorerX Pro, for example, you can see all the kerning pairs in a font and their values. You can then manually enter any missing values in FontForge’s metrics window and then re-export the font.

Comcast Xfinity and Passive FTP

Over a number of months, I experienced a strange problem with one of my hosted websites: I could not log in via FTP. To be more specific, I could connect, but at the point where the directory information is transmitted back to the FTP client, the software would hang.

For the impatient, here is the solution: I had to change the Comcast Xfinity firewall settings. See more detail below.

History

I could connect to other sites via FTP, so FTP itself was not blocked. It was not a username/password problem. I tried both passive and active FTP modes, and neither worked. I tried different ports and other protocols, and none worked; what I needed was just plain ol’ FTP on the default port.

I contacted Go Daddy first. They assured me there was nothing wrong on their end, and in fact they could connect to my site via FTP just fine. They suggested it was a problem with my router.

That seemed plausible but strange. I had switched to Comcast Xfinity some months before, and that was about the time the connection problems started (but it was a bit of a guess, since the site in question was not one that I used often).

I did some Google searching, and found that Comcast has a history of FTP-related issues. I read through quite a few discussions, some suggesting this or that. With a little more experimenting, I found the source of the issue.

Resolution

  • The problem does NOT occur on Comcast Xfinity routers by default, because by default the router has firewall security turned off. (The default ‘Minimum’ security is off, if you read the help on the router config web page.)
  • The problem may not affect all FTP sites. I could connect to another FTP site just fine. But that one used SFTP.
  • It may be that only FTP connections that use passive mode are affected. Most of the Comcast-related complaints I read while googling seemed to mention passive FTP.
  • The FTP on Go Daddy, at least, is NOT compatible with the ‘Typical Security (Medium)’ setting on Comcast Xfinity’s firewall. In particular, the ‘Peer-to-peer applications’ blocking that is part of the medium security setting, is what prevents the passive FTP connection from working. (It can also be enabled as a custom setting.) Note: Setting the firewall to ‘Low’ disables it altogether, which is not recommended. There are a few presets in the ‘Custom’ option, and I activated those, except the HTTP and peer-to-peer options.
  • It appeared that a possible workaround would be to set up port forwarding. But that seemed like a lot of work (you need to set up a directive for each FTP site that is affected), and even then I wasn’t familiar enough with port forwarding to really know what I was doing. So I didn’t try.

Comcast Xfinity and Forceful Upsells

I had been a mostly happy Comcast Xfinity user for more than six months. Despite occasional flakiness, the router seems to work reliably and the download speeds are good.

A couple months ago my wife and I were trying to fix some issues with our home security system, which apparently needed a phone line. So we added Xfinity’s telephone service, which is VOIP-based, having been told by the Comcast desk staff that it would work. But it didn’t work. The security system required a landline phone.

After a lot more research, we completely abandoned that security system, and went with something that has a safer and more secure cellular connection. So we did not need the Xfinity phone service after all.

Frustration Begins

I was very annoyed to discover that Comcast does not allow its users to drop services using their website. There is no rational basis for this; it seems to be only about throwing up hurdles to keep customers paying more.

It is very easy to upgrade or add services online. But to drop a service, you need to call them and talk to a customer rep. There is absolutely no good reason for that; if anything, it should be the other way around, where customers need to confirm additions or upgrades. Clearly Comcast seems to be in the business of fleecing.

Very Bad Experience

Eventually I was home during business hours, so I called to get the phone service removed. Thankfully the call was promptly answered by a customer service representative, with no waiting on hold. Naturally she wanted to know why I was dropping the service, so I explained that we didn’t use our phone service and had never used it. I thought it would be a slam-dunk.

I was floored when the rep told me that removing the phone service would increase our monthly cost by about $10 — from our current cost of about $70+ per month, to $80+ per month. At first I thought maybe I had heard wrong, so I asked her to repeat. She said it was because we were breaking up a bundle, and the individual services cost more than the bundle. Of course that is stupid.

When I first signed up, I was paying only $29.99/month (the “Performance” package), plus some taxes and fees, that came out to about $37. The only thing I had added was the phone (which had required an upgrade to the internet speed), and now she was telling me that to remove the phone would increase the cost even further. Insanity.

So while we were talking, I looked up the cost of their internet service packages on their website (having signed off and visited the site as a new customer would). What she was quoting me was $30 *more* than the highest package shown on their sales portal page.

I began to talk about downgrading my internet speed, and suddenly she found a way to give me the same service for about $15 less than we currently pay. I think the Internet service option is probably still overkill, and I may call back to downgrade it again. All that hassle greatly lessened my confidence in Comcast as a customer-friendly company.

Moral

Be very careful about upgrading Comcast Xfinity’s service. It seems to be designed as a one-way street. And all those promotional discounts you were promised when you signed up quickly disappear once you start to change anything.